How to make a slideshow video of my image collections with Windows Movie Maker?
1. Firstly, you need to download and install Windows Movie Maker of course. Here is the step-by-step guide: download & install Windows Movie Maker . Just skip to step 2 if you already have the software installed.
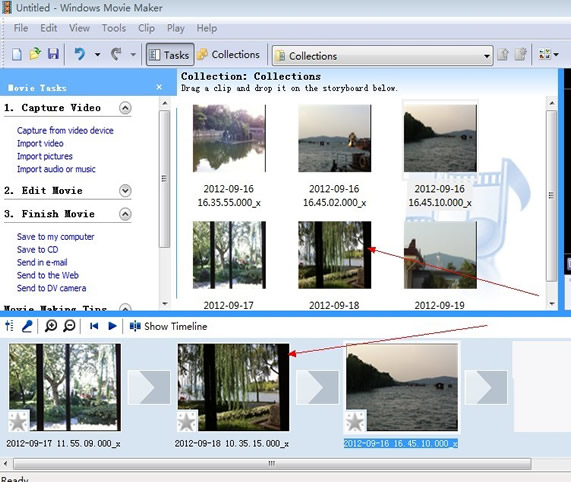
2. Import the pictures which you want to make a slideshow into Windows Movie Maker image collections. Click the link button in "1. Capture Video -- Import pictures" and select the target pictures.

3. Drag images to timeline. Select and drag the target pictures into Windows Movie Maker timeline. Single picture can be dragged into timeline twice or even more times. You can also ignore unnecessary pictures in this step.
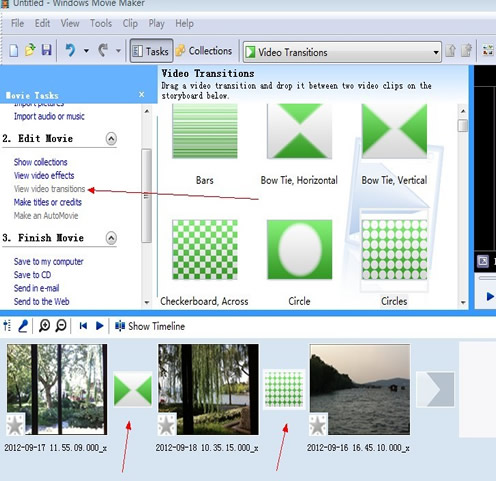
4. Now the images are in timeline. We may need some transitions when the image transforms from one to another. The video transitions make the video more polished. Click the linkbutton "2. Edit Movie -- View video transitions", then you will find all the video transition effects. Drag specific transitions into square between images in the Windows Movie Maker timeline window. Then the transition will be applied to the video.
5. Finish the video and export expected video file. Click the linkbutton "3. Finish Movie -- Save to my computer", then input the name of your video file, and choose a place to save your movie. The click the "Next" button to export video file. Just wait several minutes, your video will be ready by Windows Movie Maker. Enjoy your slideshow video and Enjoy Windows Movie Maker!
